
Tavia’s fishing rod: the red map hunt and what to fish
How to hunt for the red map at Deep Sea Fishing, what to catch while you wait, and how to collect Tavia’s fishing rod.
How to start the red map hunt
The red uncharted island map takes you to Tavia’s island, where you can collect the rod. At 68 Fishing, speak to Goomah in the Fishing Guild to travel to the Deep Sea Fishing hub and start hunting for the map. The rod is tradeable, so you can also buy one from another player.
Choose an activity that gives you fish or XP you want anyway. The drop rate isn’t known, and there’s no known best fishing spot or gear setup.
Blue, green and red maps
When you find a green uncharted island map at Deep Sea Fishing, you’ve also had a roll for the red map. The red map can appear as an extremely rare extra.
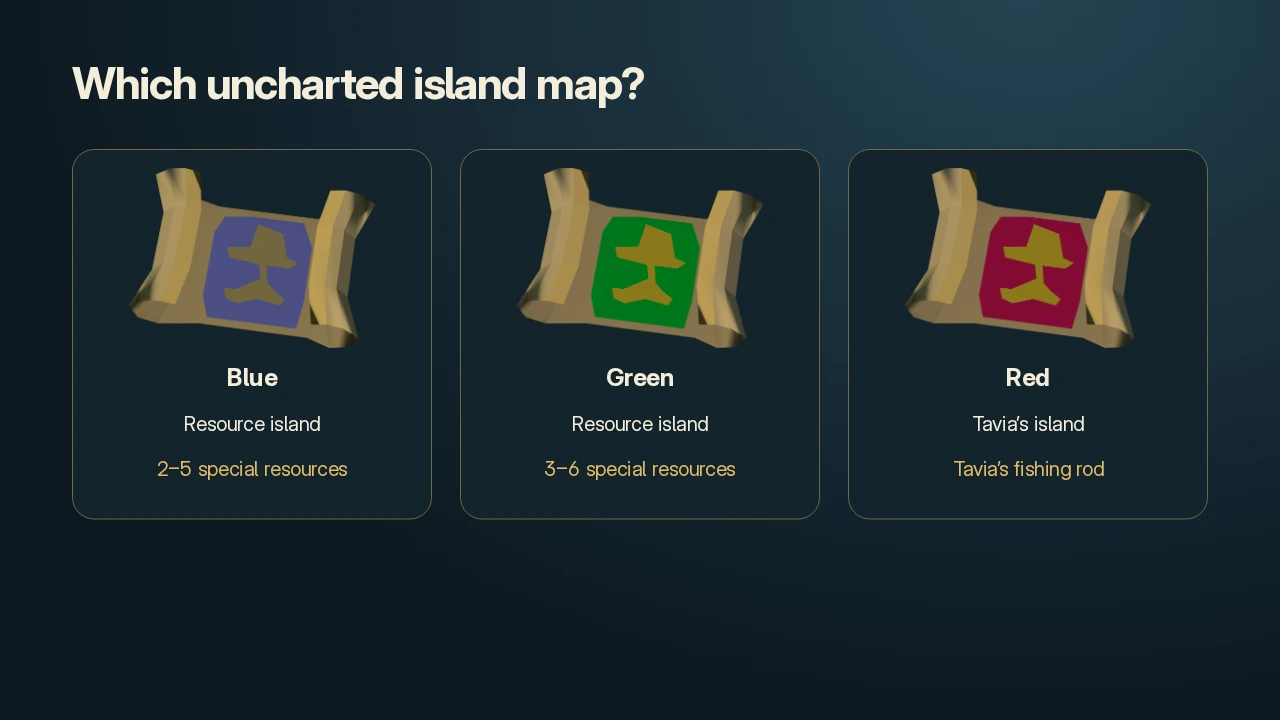
- Blue map: find one while gaining XP outside the Arc or buy one with Dungeoneering tokens. It takes you to a resource island, but buying one doesn’t give you a red map roll.
- Green map: find one while fishing at the Deep Sea Fishing hub. It takes you to a resource island.
- Red map: this takes you to Tavia’s island, where you can collect the rod.
Which hub activity should you choose?
Minnows are an easy starting point because they stack in one inventory slot. Swarm gives you a mixture of fish. Cooked blubber jellyfish are useful combat food because you can eat them without losing adrenaline. The hub has deposit nets and bank boats, so you can keep your catches without leaving.
- 68 Fishing — Minnow shoals: minnows stack in one inventory slot. Move to another shoal when the current one disappears.
- 68 Fishing — Swarm: you catch a mixture of fish, with better fish becoming more common as your Fishing level rises.
- 68 Fishing — Green blubber jellyfish: move away from electrified spots before the debuff stacks up and stuns you.
- 91 Fishing — Blue blubber jellyfish: move away from electrified spots before the debuff stacks up and stuns you.
- 79 / 80 / 81 Fishing — Magical fishing spots: sea turtles at 79, great white sharks at 80 and manta rays at 81. Gut 300 minnows to make bait for 50 fish, plus any bonus catches.
- 94 Fishing — Fishing Frenzy: an active Fishing XP method where you keep a streak going.
- 97 Fishing — Sailfish: the ordinary, swift and calm spots can all give you the map. Swift spots catch faster but disappear sooner; calm spots last longer.
- 68 Fishing — Temporary whirlpools can also give you the map.
Tools and catch boosts
Use a tool that works at your chosen fishing spot. The fishing rod-o-matic gives a 3% catch boost, or 4% for the enhanced version. A crystal fishing rod gives 8% at spots that require a rod. Tavia’s rod gives 14% at those spots, the highest catch boost from a fishing tool.
Augmented tools can use Invention perks. Honed improves your chance of catching fish, and powered perks use charge pack energy. Furnace destroys some catches for XP, so leave it off if you want to keep every fish.
There’s no known benefit to using Luck of the Dwarves for the red map hunt.
- Full Fury shark outfit: 7% catch boost.
- Perfect juju fishing potion: 10% catch boost for 1 hour per dose. Perfect plus includes the same effect, and they don’t stack. You need 92 Herblore to make the potion, but not to drink one bought from another player.
- Granite crab: 16 Summoning, +1 invisible Fishing level and 1% catch boost. Ibis: 56 Summoning, +3 and 2%. Granite lobster: 74 Summoning, +4 and 3%. These boosts are passive, so you don’t need scrolls. Invisible levels don’t unlock higher-level spots.
Keep the fish, or train without filling your inventory
Set the Fury shark outfit to catch mode to keep your fish, or consume mode to destroy them and reduce banking.
Bait and Switch is an Archaeology relic power that cooks suitable fish as you catch them and gives 50% of their normal Cooking XP. With the Fury shark outfit on consume mode, you still get the Cooking XP while the outfit destroys the fish. This lets you train Fishing and Cooking without filling your inventory. Extra fish from the outfit don’t give extra Cooking XP.
If you want to keep the cooked fish, use catch mode. Porters can bank them after Bait and Switch cooks them, or you can deposit them at the hub. Consume mode doesn’t use porter charges.
You unlock Bait and Switch at 99 Archaeology. It uses 100 relic energy and costs 2,000 chronotes to activate.
What does Tavia’s special effect do?
While Tavia’s rod is equipped, every successful catch has a 1 in 500 chance to trigger its special effect. The effect can trigger at spots that don’t require a rod, but the separate 14% catch boost only works at spots where you use a fishing rod.
When it triggers, you get all three Deep Sea Fishing boosts for 10 minutes: 5% more Fishing XP, a 10% chance of an extra catch and a 10% faster fishing rate. Nearby players get one of the three boosts at random for 2 minutes. The effect can trigger outside the hub too.
Taking the red map to Tavia’s island
Complete Impressing the Locals before you travel to the Arc. If you haven’t done it, start the quest by speaking to Trader Stan in Port Sarim. You don’t need any skills or other quests, but bring 1,000 GP for a quest item.
- Keep the red map in your backpack and speak to Quartermaster Gully in Port Sarim.
- Travel to Tavia’s island. The map is consumed when you go.
- Find the house with the gone fishing note, knock on the door and take the mysterious rod leaning outside.
- Take the rod before you leave. You can’t claim the island with a flag, and you’ll need another red map to return.
The story behind the rod
The fishing notes on the island tell part of the rod’s story. Its fin came from Arkaneo, the legendary sailfish that visits the Deep Sea Fishing hub. Good luck on the red map hunt!